Configure App Info
Overview
In this article, you can find the how-to guide on configuring the app info. It includes configuring new app information details or updating the existing app basics on Apporetum.
System Admin is responsible for configuring and creating an app. Once the app is created, App Owners should be in charge of managing this app and updating the app basics and app managers.
If you would like to learn the basic concept of app configuration, we recommend you to read this article, App Configuration Essentials.
Configure New App Info
- In the Apporetum navigation Menu, click Access -> Apps
- Click the Configure App option located on the top right of the page
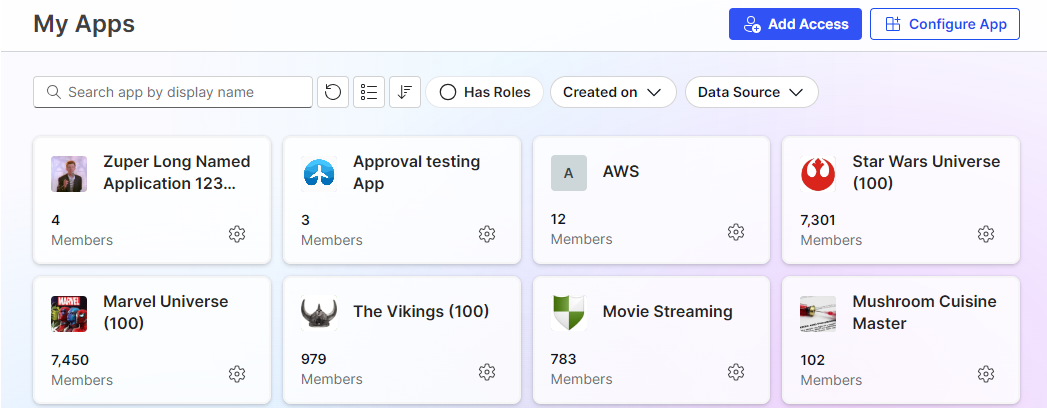
- By default, you will land on the Create App configuration page

Source
- Choose a Data Source
You will be able to choose from the three main data sources, Entra ID (formerly Azure Active Directory), on-premises Active Directory, and CSV. A deep dive on setting up data sources in Apporetum can be found here.
If you choose on-premises Active Directory or CSV, you can continue the next configuration section About.
- If you choose Entra Id as a data source, there will be four access types that will be available to select:
- Group - This setting creates a group in Entra ID
- App Role - This setting pulls a
- Entra PIM
- Directory Roles
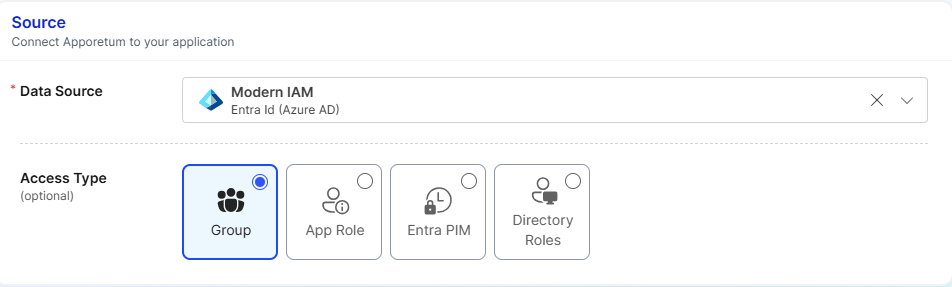
Access Type - Group
When selecting Entra ID as the data source and selecting Group as the Access Type you allow the new app to be configured by creating a group in Entra ID. Access to this app is controlled by who has access to the Entra ID group.
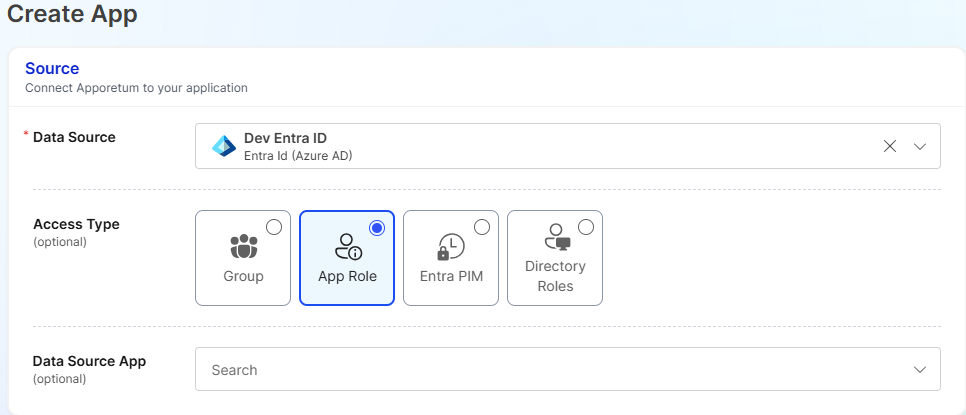
Access Type - App Role
When selecting Entra ID as the data source and selecting the App Role as the Access Type you allow the new app to be backed by an existing app registration in your Azure tenant.
- Once App Role has been selected, a new option will be available called Data Source App. This setting allows you to select the an app registration.
Access Type - Entra PIM / Directory Roles
When selecting Entra ID as the data source and selecting either Entra PIM or Directory Roles as the Access Type you allow the new app to be configured by Entra ID PIM roles. This feature allows Apporetum to have granular information on which users are assigned PIM roles.
If you are setting up Entra PIM or Directory Role access types it is recommended to follow the how-to article found here.
About
The About section is used to to distinguish this application for you and others.
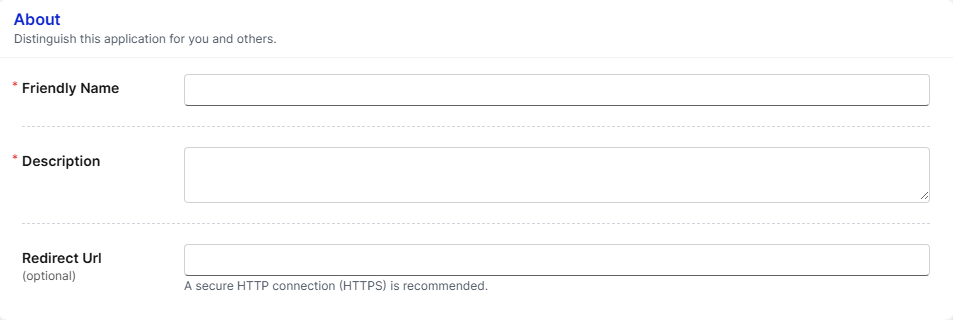
- Fill in a Friendly Name
- Give a Description
- (optional) Fill in a Redirect URL
we recommend you to fill a secure HTTP connection (HTTPS) as the Redirect URL.
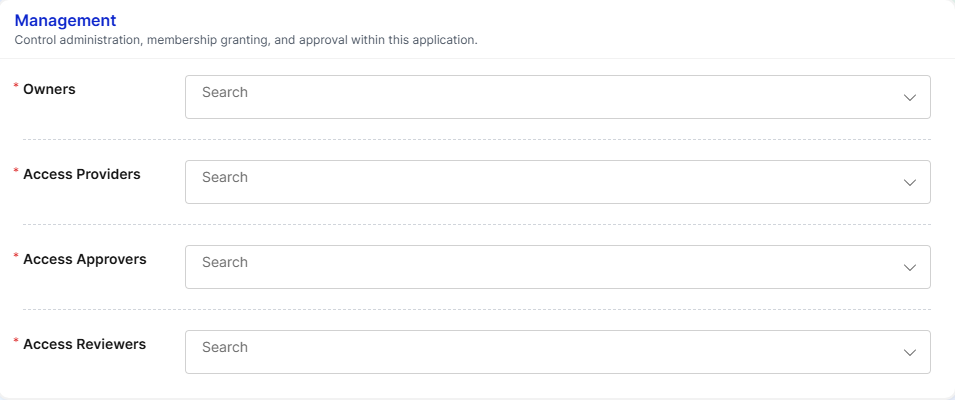
Management
The management options controls administration, membership granting, and approval within this application.
We do not recommend adding the same person as both access provider and access approver. By adding different people, you have security benefits from separating . However, you can add the same person to the three app manager roles.
- Choose one or more Owners
- Choose one or more Access Providers
- Choose one or more Access Approvers
- Choose one or more Access Reviewers
You can view App Manager to learn more about the role entitlements.
- Click Save Changes
- Check System notification
Update Existing App Info
-
In the Apporetum navigation Menu, click Access -> Apps
-
Use the search bar to find the app to edit
-
Click the cogwheel icon on the app tile

-
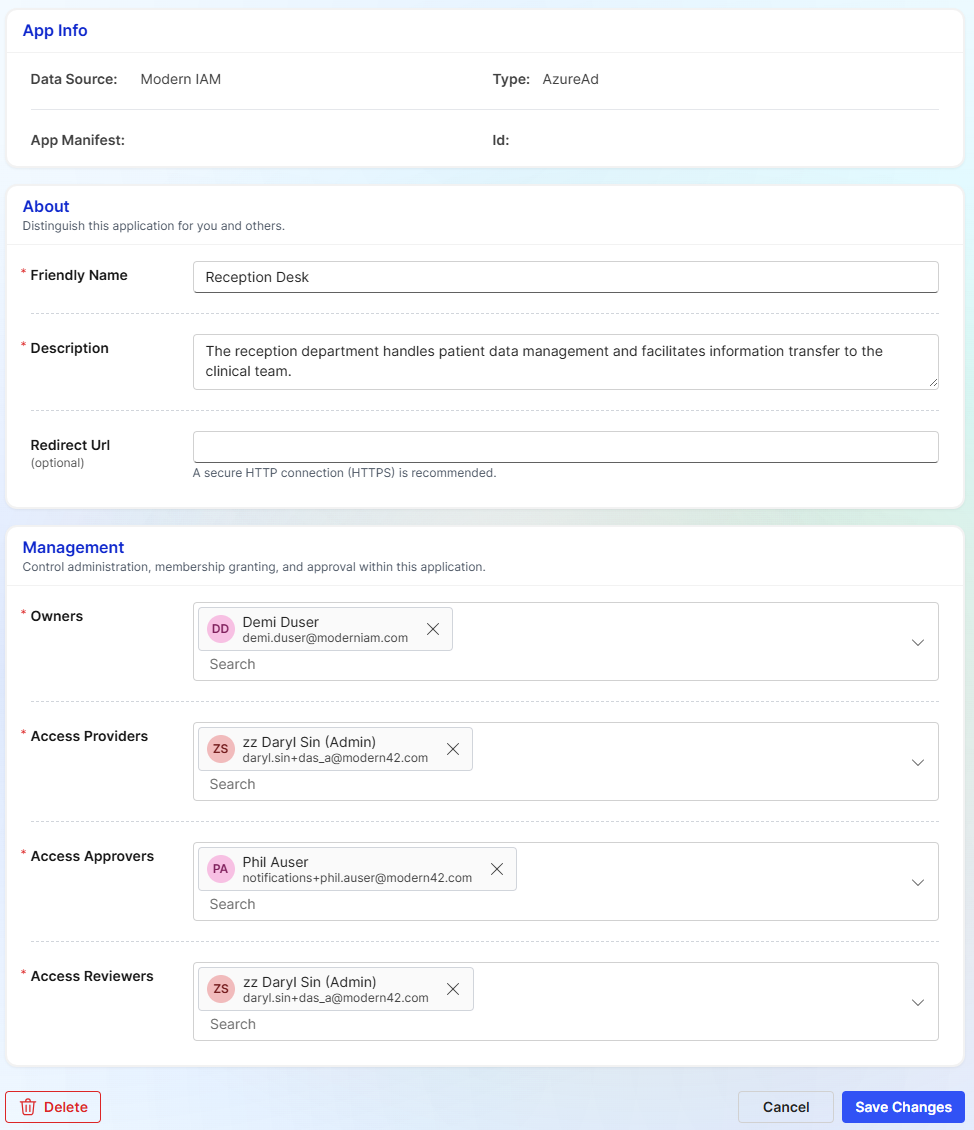
By default, you will land on the Config tab
-
View the App Info which includes the Data Source, App Manifest, Type, and ID for the app
-
Under About section, update Friendly Name, Description, and (optional) Redirect Url
-
Under Management section, add or remove users from Owners, Access Provider, Access Approver, and Access Reviewers
-
Click Save changes
-
Check system notification