Post Deployment Steps
Before you start using Apporetum, you may need to complete a few final steps while we finish setting up your account. Depending on the options you selected in the deployment wizard, certain tasks may be required. You can verify these tasks by checking the health status on your deployment status page. Please note that all deployments must grant the requested Graph Permissions and may need to link additional resources to their VNets.
Verify the health of your deployment
 After a successful deployment, we recommend that you verify your deployment Apporetum using our health check tool located on the API App Service. This tool will validate and recommend common fixes to deployments when problems are detected. You can find the URL using the following procedure.
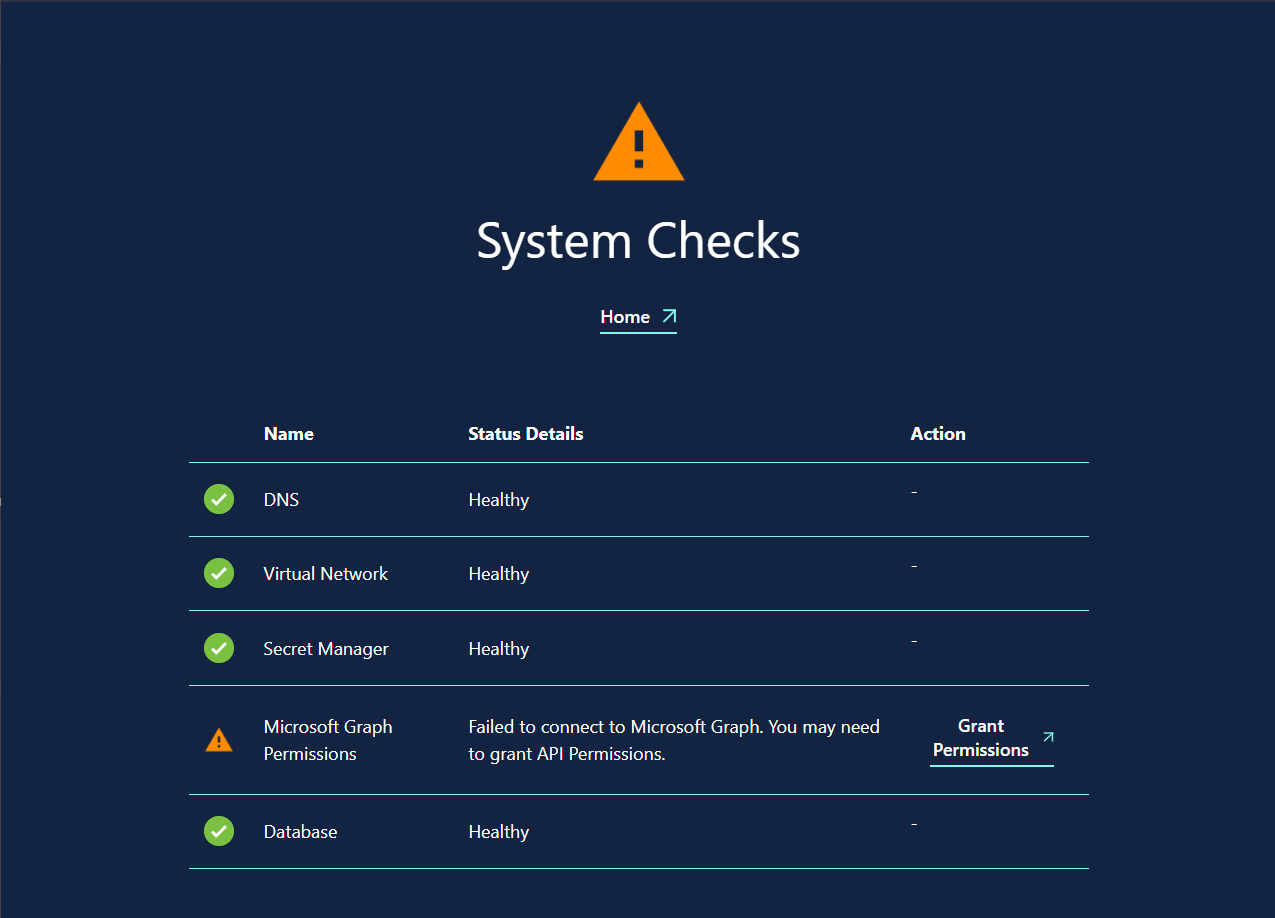
The tool provides helpful troubleshooting steps and actions which can be used to manually fix any present deployment issues.
Locate the API App Service
- From the Managed Application, click the Managed Resource Group under Essentials section.
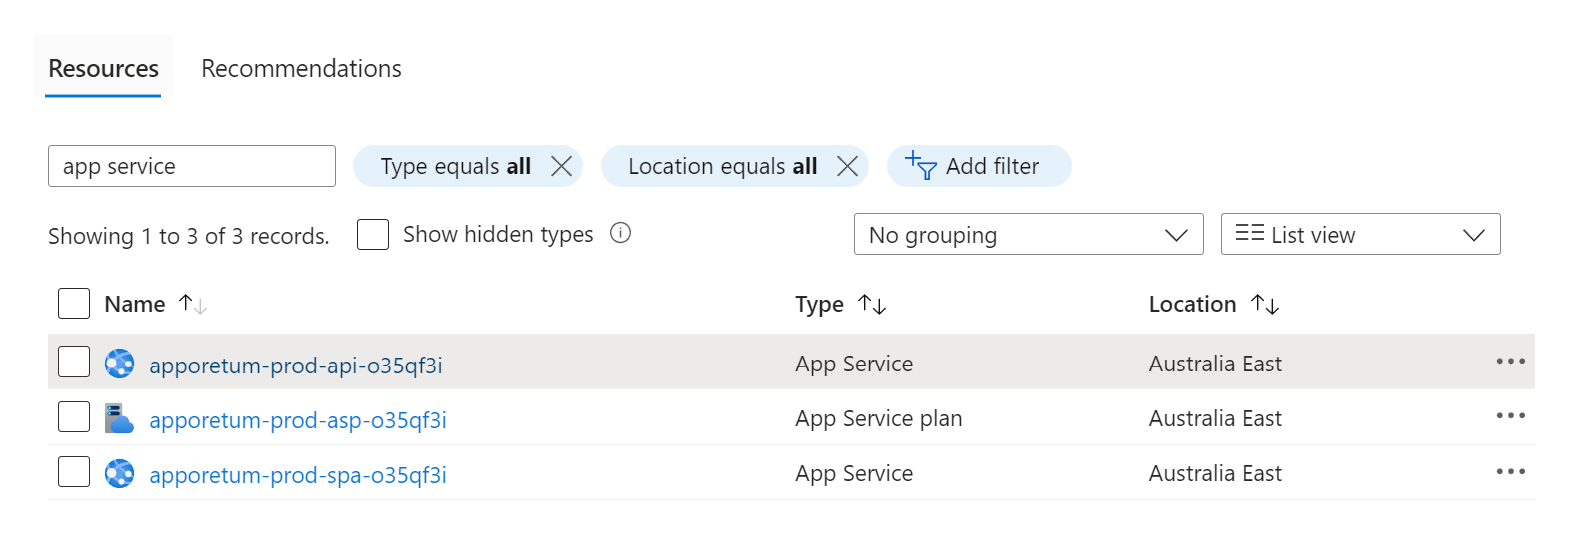
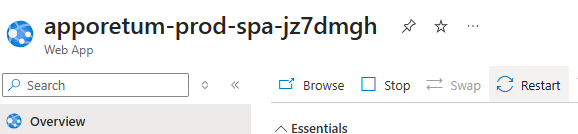
- Open the apporetum-####-api-####### resource (You may search 'app service' to find it easier)
- On the API App Service overview page click the Browser button on the command bars
- On the home page click the Status link. NOTE: this may take a couple of seconds to run
Grant Microsoft Graph Permissions
To enable Apporetum to talk directly to Microsoft Graph we must first grant all the new permissions requested by the deployment script. The following instructions step you through how to find and grant the necessary permissions.
Please carefully read through the permissions which are required by Apporetum and understand the impact they have on your organisation. We have chosen the minimal required permissions to operate and without these Apporetum will not be able to operate all features for this Data Source.
- Ensure you are using your Global Admin or Application Administrator Account
- From the Azure Portal, navigate to your Entra ID (formerly Azure Active Directory) App Registrations (Entra ID (formerly Azure Active Directory) > App Registration)
- Search for 'Apporetum-' and open the corresponding NEW app registration which has the same ID as your Managed Application Resource Group (this should be 4 - 5 random characters at the end of your resources)
- On the App Registration page, navigate to the "API Permissions" tab
- Click the "Grant admin consent for Default Directory" button and accept the popups
- Verify using the Health Checks that your permissions were successfully granted
Existing VNet Post-Deployment Steps
Due to limitations in the Azure Managed Application offer, Apporetum can't completely set up everything if you use an existing VNet. As such, you will need to follow a few short guides to get all of our infrastructure connected to yours. These connections can be verified on your deployed Apporetum API app service.
Connect Private DNS
To securely connect to Apporetum's database and keyvault we use private endpoints. To enable us to resolve the private IPs of these resources you will need to link the Private DNS records to your VNet.
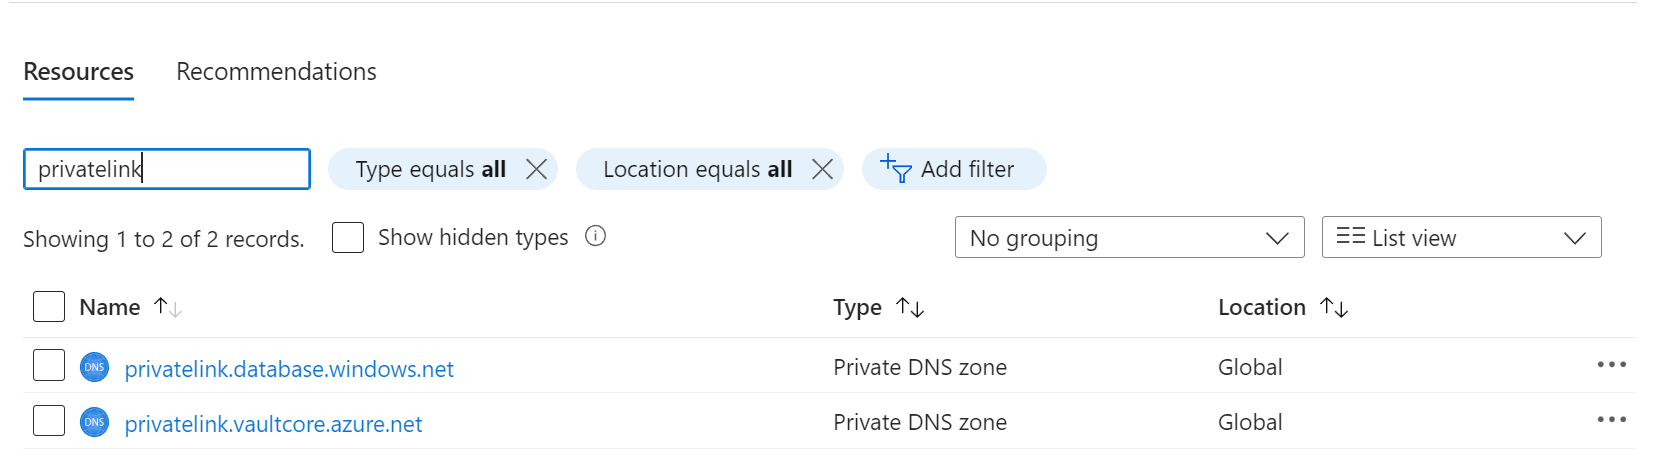
Private DNS Zones
- privatelink.database.windows.net
- privatelink.vaultcore.azure.net
Create VNet Link to Private DNS Zone
- From the Managed Application, click the Managed Resource Group under Essentials section.
- Open the respective Private DNS Zone (You may search 'privatelink' to find them easier)
- Navigate to the Virtual Network Links page under the Settings section on the left blade
- Click Add to open the link form
- Name the link accordingly and select the same VNet which was used in the deployment script
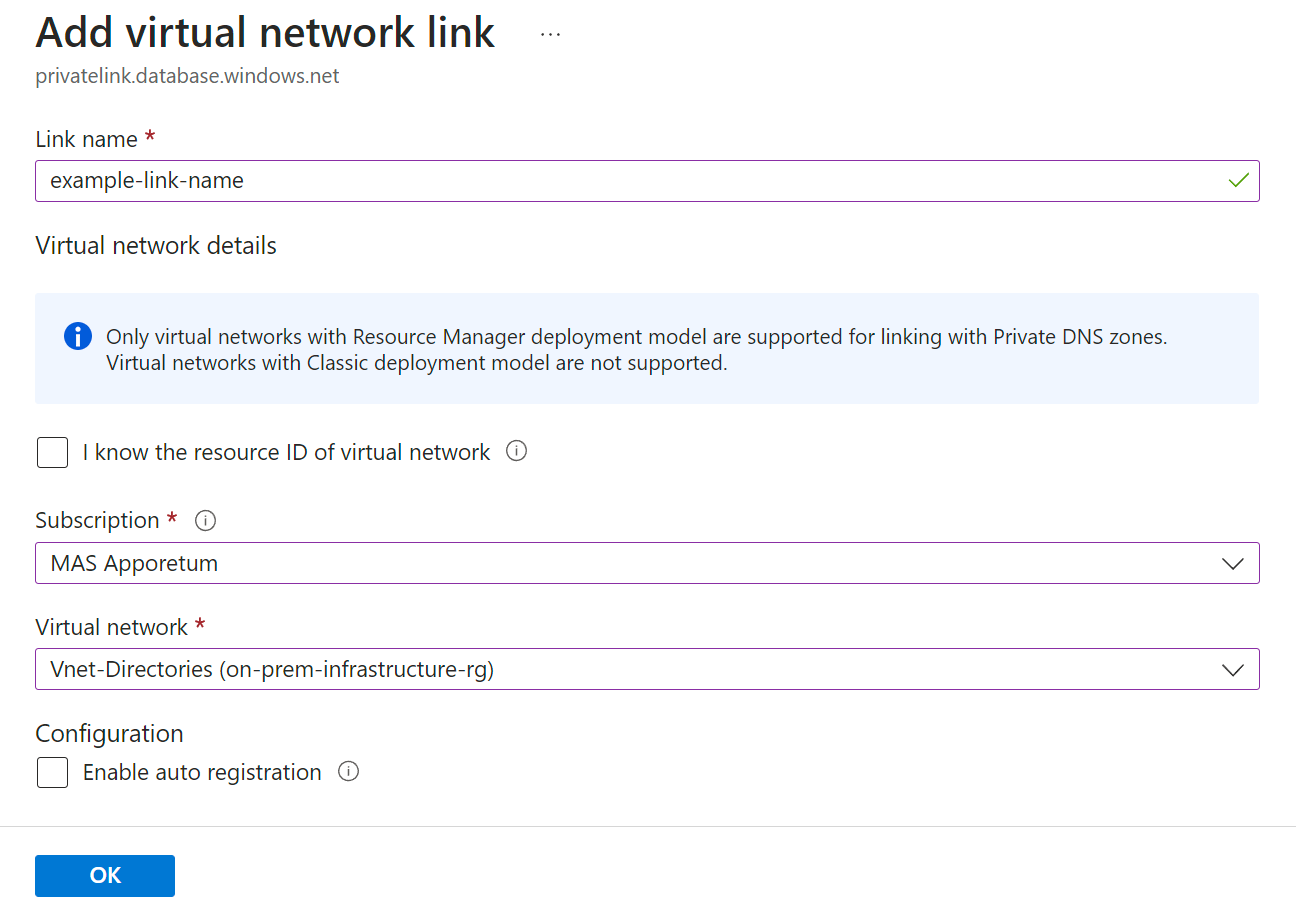
- Save the form
To see these changes reflected immediately in your health check please Restart the API App service after these links are successfully created. DNS cache may take up to 4 hours to update without intervention before Apporetum can use these private DNS links.
Connect App Service
Apporetum's App Services must be manually connected to the respective Subnet.
Please create a link to the VNet by
-
From the Managed Application, click the Managed Resource Group under Essentials section.
-
Open the apporetum-####-api-####### resource (You may search 'app service' to find it easier)
Managed Resource Group list of Azure resources -
Navigate to the Networking page under the Settings section on the left blade
-
Click VNet integration to open the VNet integration page
-
Click Add to open the link form
-
Select the same VNet and the appropriate subnet for the API App Service which was used in the deployment script
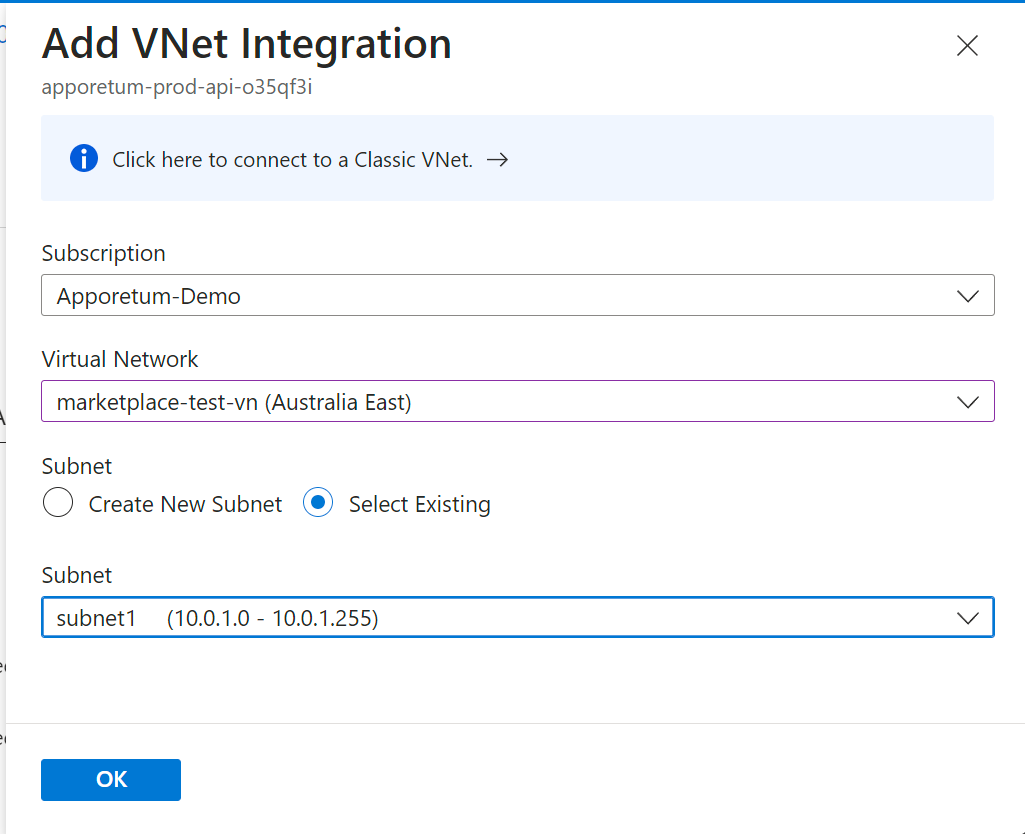 Add VNet Integration popup for App Service
 -
Save the form (This will show an error )
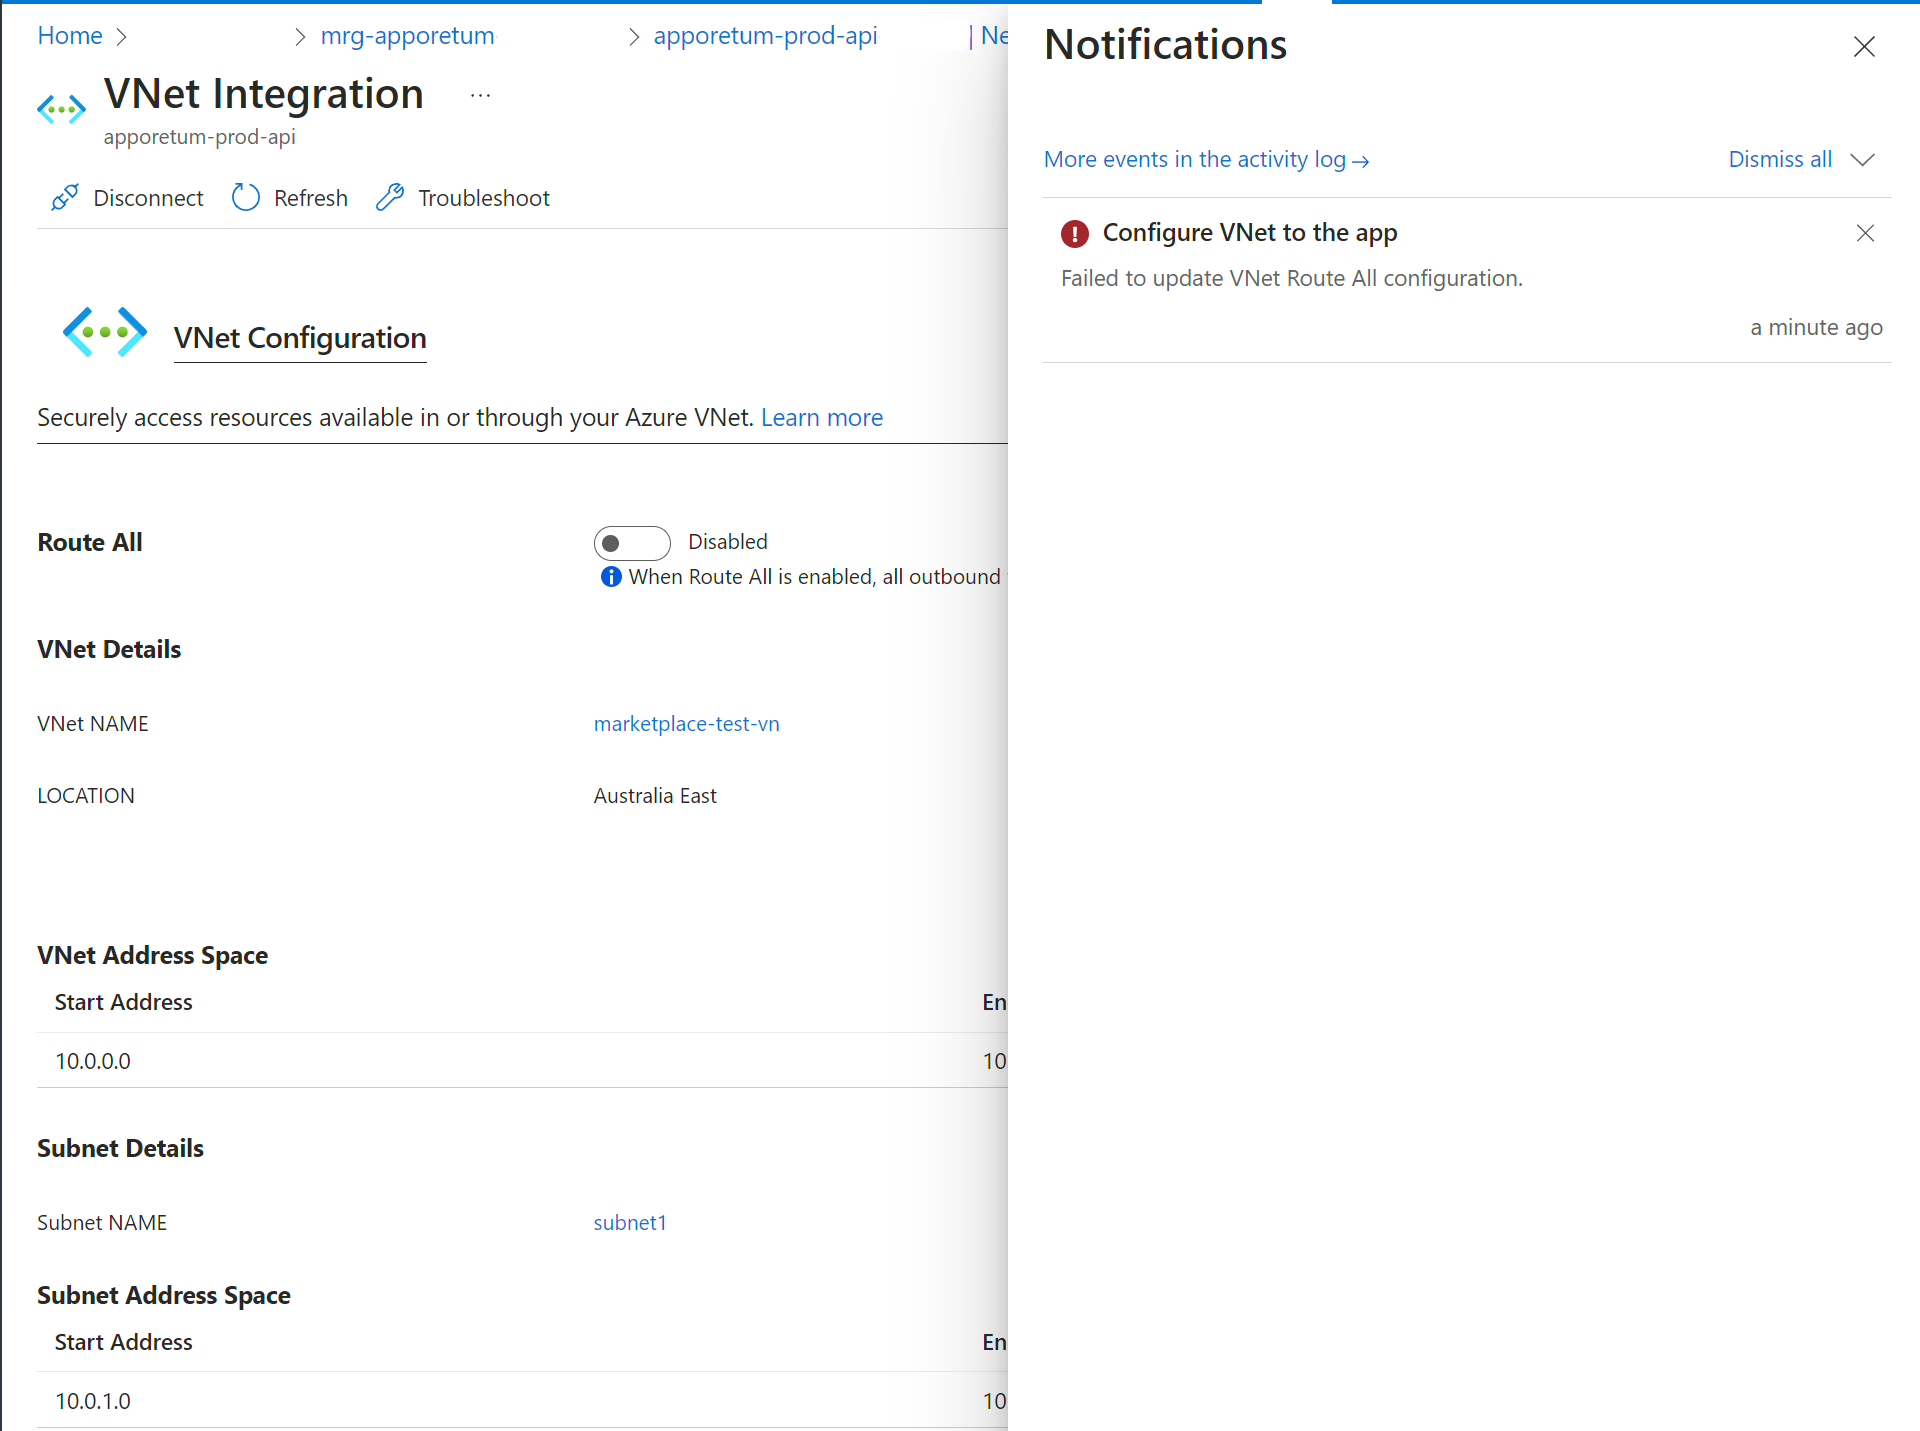 Failure notification after linking an existing Virtual Network successfully
This action will show an Error notification with the following description "Failed to update VNet Route All Configuration". This is expected and will not affect your installation. Please verify that your desired VNet shows on the App Service's VNet Integration page.
Confirm your license
Whitelist Internet Services
| Name | Domain | Requirement |
|---|---|---|
| License Server | license.apporetum.com | Required |
| Deployment Manager Server | deploy.apporetum.com | Required |
| License Server (backup) | license2.apporetum.com | Optional |
| Deployment Manager Server (backup) | deploy2.apporetum.com | Optional |
Connect VNet to On-Premise Infrastructure
To allow Apporetum to connect to on-premise identity providers such as Active Directory, a separate VNet should be considered, peered or bridged to the existing infrastructure in Azure.
Whilst the VNet requirements will vary between organisations, the following considerations should be made:
- VNet Peering between different resource groups same subscription: Make sure that the defined subnets don’t clash, and the resource group names are not the same between the Apporetum VNet and existing VNets you want to peer between. Learn More
- VNet Peering between different subscriptions: Make sure that the defined subnets don’t clash between the Apporetum VNet and existing VNets you want to peer between. Learn More
- Creating new VNet Infrastructure and establishing a VPN to on-premise infrastructure: When creating new infrastructure to VPN between Azure and the Apporetum VNet make sure the appropriate ADDS ports are opened. Learn More
Configuring Access Restrictions
Access restrictions can be configured on Microsoft Azure so that only predefined IP addresses are able to access Apporetum. This limits inbound traffic to trusted sources only. If Access Restrictions are set up for your deployment, follow this guide to ensure all required traffic can reach Apporetum.
This is not a guide on how to configure Access Restrictions for your specific network. This is a post deployment guide to ensure all required traffic can reach Apporetum when Access Restrictions are set up. If you require assistance setting up Access Restrictions for your organisation, contact us.
-
Locate the Virtual Network where Apporetum was deployed.
tipInformation on configuring virtual networks and subnets for Apporetum can be found Here.
-
Apporetum will create a subnet for the SPA during the default installation from the marketplace. If you are using an existing Virtual Network ensure these networking prerequisites are followed.
-
Select the Subnet that has been allocated for the SPA. An example of the default naming convention can be seen below.
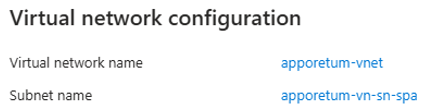
-
In the SPA Subnet settings, add
Microsoft.Webto the Service Endpoint and selectSave.
-
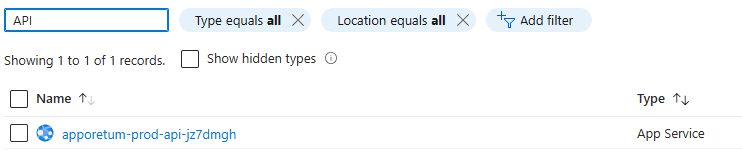
Navigate to Apporetum's API App Service Network Restrictions.
-
This can be achieved by selecting Apporetum's Managed Service Resource Group and searching "API".
-
Navigate and select the Networking blade.
-
Under
Inbound traffic configurationselect the Public network access setting. note
noteThe setting name may be different based on your current Network Access configuration.
-
-
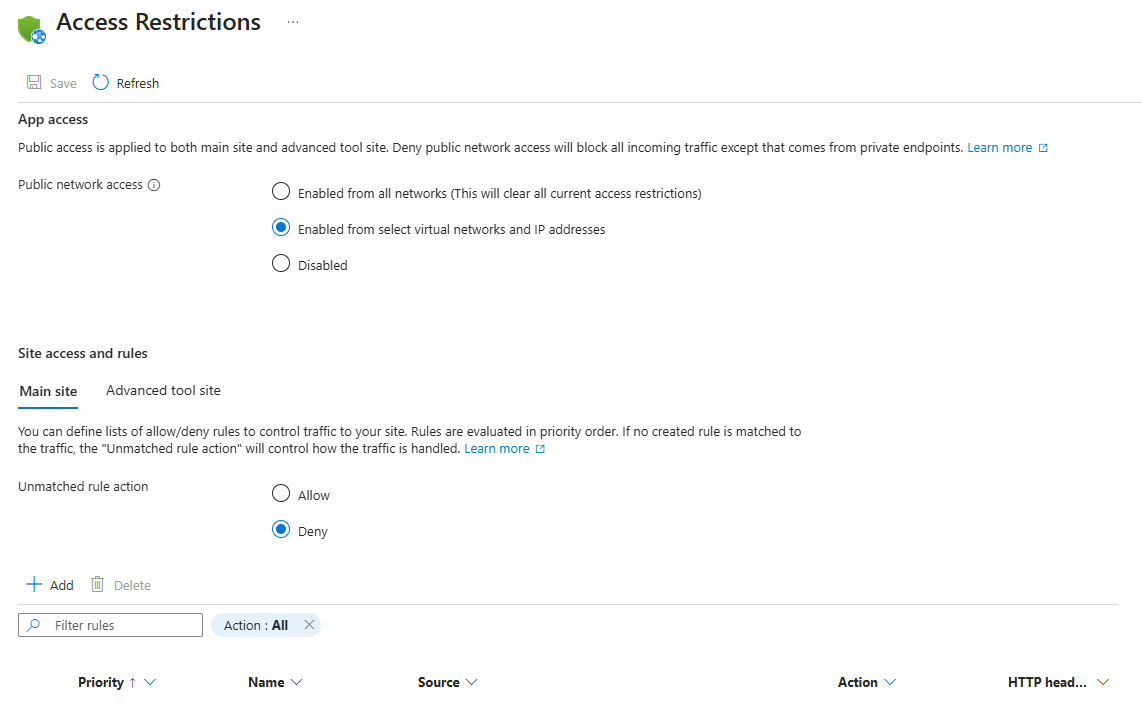
Under
Public network accessselect Enabled from select virtual networks and IP Addresses. -
Under
Unmatched rule actionselect Deny.
-
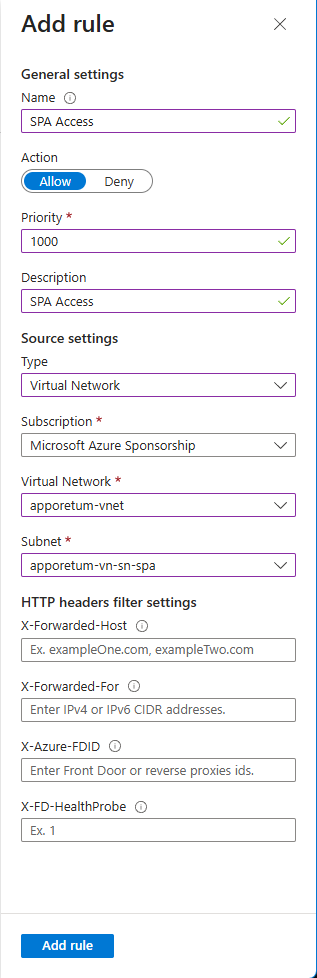
Add a rule to the Subnet Access Restrictions to allow the SPA to communicate to the API. Use the following configuration:
- Name: SPA Access
- Action: Allow
- Priority: 1000 (If you have other access restriction rules, ensure this new SPA Access rule has the lowest priority)
- Type: Virtual Network
- Subscription: Select the Subscription where Apporetum is installed
- Virtual Network: Select the Virtual Network where Apporetum is installed
- Subnet: Select the "SPA" Subnet
- Add the new rule
-
Navigate to the SPA Web App Overview and Restart the service. Allow up to 15 minutes for the settings changes to take place.